Using test-driven development (TDD) in React projects is usually simple, especially with tools like Jest and Enzyme. However, there are some key considerations.
In this article, we’ll walk through the process of developing a React app using test-driven development (TDD), from creating user stories to actual development. We’ll be using Jest and Enzyme for our TDD approach. By the end of this guide, you’ll be able to:
- Create epics and user stories based on project requirements.
- Write tests based on these user stories.
- Develop a React app using TDD.
- Utilize Enzyme and Jest for testing React components.
- Implement and reuse CSS variables for responsive design.
- Create a reusable React component that dynamically renders and functions based on provided props.
- Perform type checking on component props using React PropTypes.
This tutorial presumes you have a basic knowledge of React.
Overview of Test-driven React App
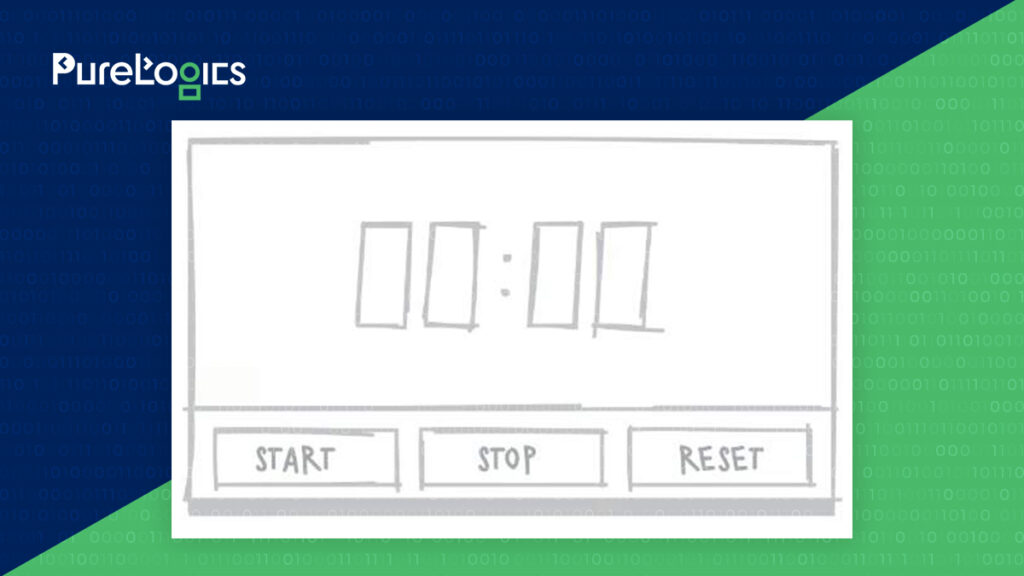
We are going to develop a simple pomodoro timer app with various UI components, each having its own set of tests in a dedicated test file. To begin, we will create epics and user stories based on our project needs.
| Epic | User Story | Acceptance Criteria |
| Being a user, I require to utilize the timer to manage my time. | I require the ability to initiate the timer in order to track the duration of my time. | Ensure the user can: *start time *view the count down The countdown should continue uninterrupted even if the user clicks the start button multiple times. |
| I require the ability to pause the timer so that I can choose when to start counting down my time. | Ensure the user can: *Stop the timer *Display the stopped timer No action should be taken if the user clicks the stop button multiple times. | |
| I require the ability to reset the timer so that I can start counting down my time from the initial duration. | Ensure the user can: *reset the timer *display the timer Resetting to the default duration. |
Wireframe
Project Setup
To start, we’ll use Create React App to set up our React project as follow:

After running Create React App, a new browser tab will open. You can stop the React app by pressing Ctrl+C in the terminal.
Next, we’ll add Jest and Enzyme, along with some dependencies as follow:

Additionally, we’ll add or update a file named setupTests.js in the src directory:

Create React App runs the setupTests.js file before each test, ensuring that Enzyme is properly configured for testing.
Configuring CSS
To ensure our CSS variables are globally accessible, we’ll define them in the :root scope. Variables are declared using custom property notation, starting with — followed by the variable name.
Please open the index.css file and add the following code:

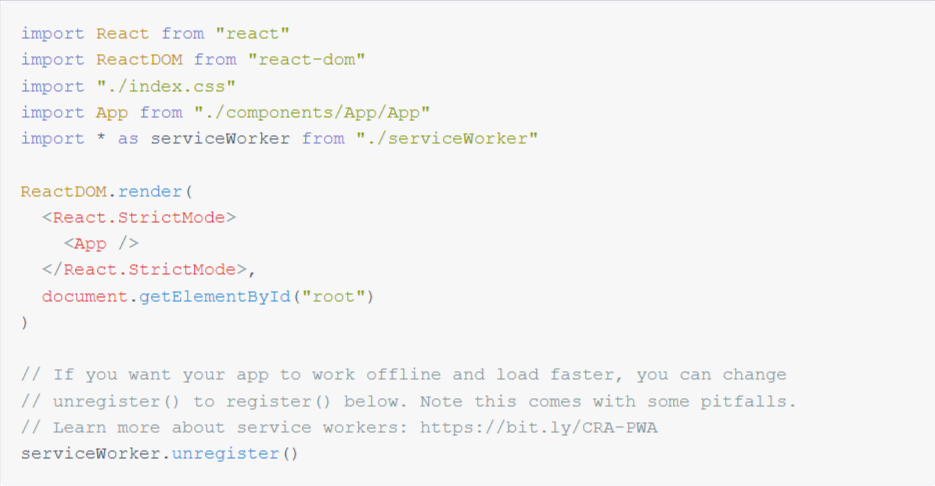
Now, let’s import the CSS into our application. Update the index.js file as follows:

Shallow Render Test
As you may already be aware, the Test-Driven Development (TDD) process follows these steps:
- Add a test.
- Run all tests, which should result in the new test failing.
- Write the code necessary to pass the test.
- Run all tests again.
- Refactor code if needed.
- Repeat the process for each new feature or improvement.
With this in mind, let’s add our first test for a shallow render test. We’ll then write the code to pass this test. Create a new spec file named App.spec.js in the src/components/App directory.

After adding the test, you can run it using your testing framework.

Running the test after adding it should result in a failure.
App Component
Next, we’ll create the App component to pass the test. Navigate to App.jsx in the directory src/components/App and add the following code:

Now, again run the test.

The first test will pass this time.
Including App CSS
To add some styling to the App component, we’ll create a App.css file in the directory src/components/App with the following content:

Now, let’s import the CSS into the App.jsx file:

Next, update the index.js file to import the App component:
Including the Timer Component
Finally, our app will include the Timer component. Therefore, we’ll update the App.spec.js file to ensure the Timer component is present in our app. Additionally, we’ll declare the container variable outside the first test case since the shallow render test needs to be performed before each test case.

If you run npm test at this stage, the test will fail because the Timer component has not been created yet.
Timer Shallow Rendering Test Writing
Now, let’s form a file titled Timer.spec.js in a new directory lablled Timer below the src/components directory.
We’ll also add the shallow render test in the Timer.spec.js file:

As expected, the test will fail.
Building the Timer Component
Next, let’s create a new file called Timer.jsx and define the necessary variables and methods based on the user stories:

This will pass the test and render a <div /> in the Timer.spec.js file. However, the test should not render the Timer component yet, as we haven’t added the Timer component to the App component.
To add the Timer component to the App component, update the App.jsx file as follows:

All tests should pass now.
Adding Timer CSS
To add CSS variables related to the Timer and include media queries for smaller devices, update the index.css file as follows:
Additionally, let’s create the Timer.css file under the directory components/Timer:

Update Timer.jsx to import the Timer.css file.

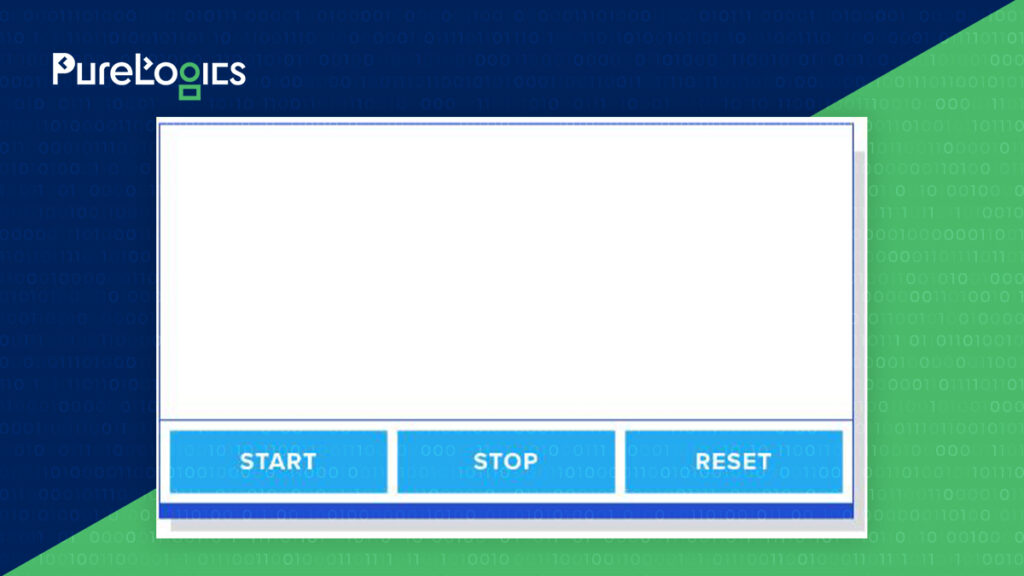
If you run the React app now, you should see a simple screen with a border in your browser.
TimerButton Shallow Rendering Test Writing
To add the Start, Stop, and Reset buttons, we’ll create a TimerButton component.
First, update the Timer.spec.js file to check for the existence of the TimerButton component in the Timer component:

Now, let’s create the TimerButton.spec.js file in a new directory called TimerButton under the src/components directory, and add the test to the file:

In case you run the test at this moment, it will fail.
Let’s build the TimerButton.jsx file for TimerButton element:

If you run npm test at this stage, the test should render instances of the TimerButton component, but it will fail because we haven’t added the TimerButton components to the Timer component yet.
Let’s import the TimerButton component and add three TimerButton components in the render method of Timer.jsx:

TimerButton CSS
Let’s add CSS variables for the TimerButton component. Include elements in the :root scope to the index.css file:

Let’s also make a file named TimerButton.css in the TimerButton folder within the src/components directory:

Let’s modify TimerButton.jsx to include the TimerButton.css file and show the button’s value:

Additionally, we should adjust the Timer.css file to arrange the three buttons in a horizontal line. Let’s update the Timer.css file accordingly:

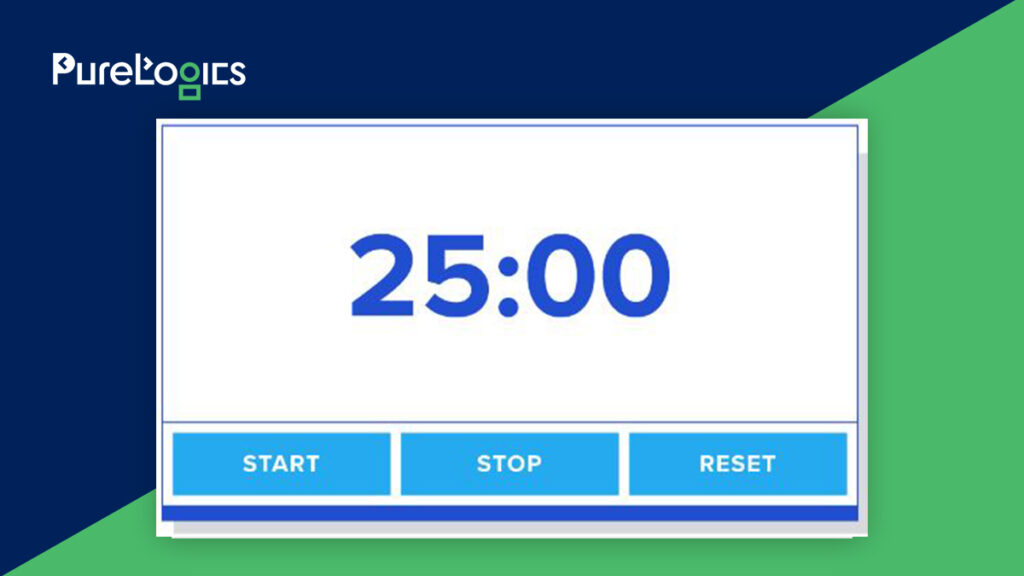
When you run the React app at this point, you should see a screen that looks like this:
Refactoring the Timer
Let’s refactor the Timer component to include functions such as startTimer, stopTimer, restartTimer, and resetTimer. First, let’s update the Timer.spec.js file.


If you run the tests now, you’ll notice that the new tests fail because we haven’t yet updated the TimerButton component. Let’s modify the TimerButton component to include the click event.

Now, the tests should be successful.
Next, we’ll add more tests to verify the state changes when each function is called in the mounted Timer test case:

When you run the tests, you’ll find that they fail because we haven’t implemented each method yet. Let’s implement each function to make the tests pass:

If you run the tests, you’ll notice that they pass. Now, let’s implement the remaining functions in Timer.jsx:


All functions should now work as intended based on the user stories we prepared earlier.
That’s correct! By following the Test-Driven Development (TDD) approach, we’ve developed a basic React app that meets the requirements of our user stories. Detailed user stories and acceptance criteria can lead to more precise test cases, ensuring that the app meets the specified requirements.
Wrapping Up
When developing an application using Test-Driven Development (TDD), it’s crucial to break down the project into epics or user stories and prepare detailed acceptance criteria. In this article, our experts demonstrated how to break down a project and utilize prepared acceptance criteria for React TDD development.
While there are numerous resources available on React TDD, I hope this article provided some valuable insights into TDD development with React using user stories.
About PureLogics
PureLogics is a top choice for expert developers, programmers, architects, engineers, coders, and consultants. World-known start-ups and companies hire talented developers from PureLogics for their key projects. If you’re thinking of something more personalized then give us a call and level up your team today!
<p>The post From Idea to Implementation: Test-driven Development with React first appeared on PureLogics | Technology Services and Solutions.</p>